
In this post I’d like to share how to make a Raspberry Pi internet radio player with music, audio-books and podcast playback over Bluetooth. In addition to all these features, it also serves as a weather station.

When fully setup, the player can be controlled using the touch screen or remotely via a web interface. It plays media on wireless Bluetooth speaker.
We need the following items for this project
Hardware
- Raspberry Pi
- power supply
- micro SD card
- Touchscreen LCD
- Raspberry Pi case fit for holding an LCD
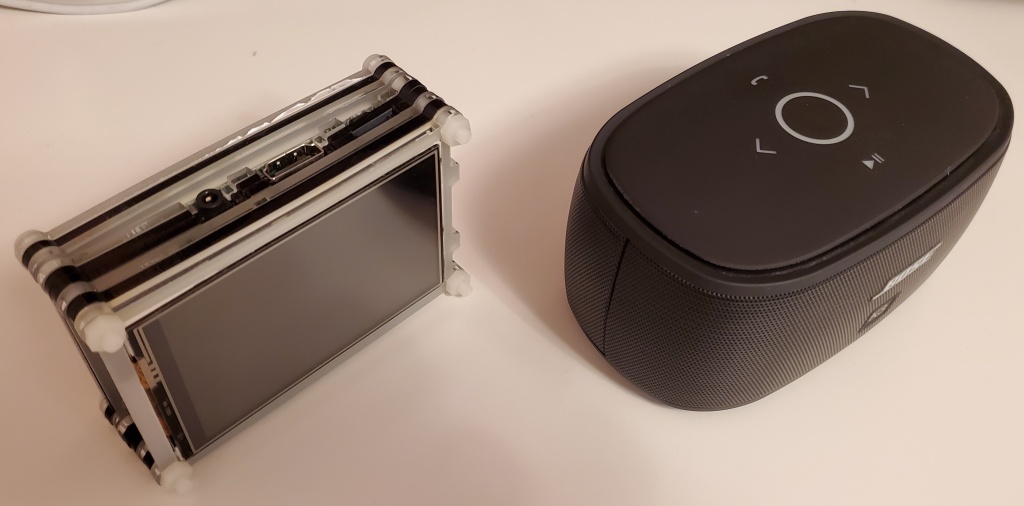
- Bluetooth speaker
- for initial setup, it would be nice to have
- Keyboard and Mouse
- Monitor
Software
- Raspberry Pi OS
- Peppy media player
Any Raspberry Pi board with Wifi and Bluetooth is good for this project.

I used a 3.5 inch touchscreen LCD from Kuman tech.

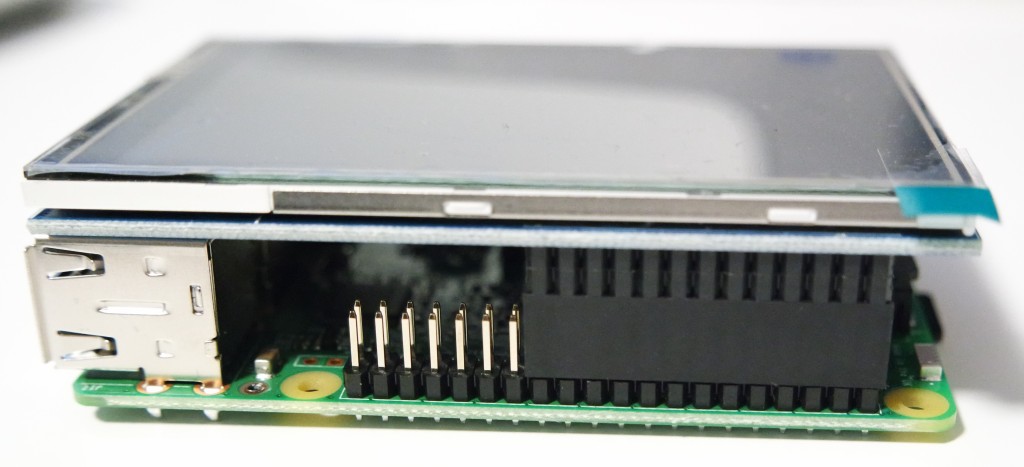
We need a case that can hold the LCD screen securely so that it does not move when using the touchscreen. I used this case from Amazon but you may find many others like this if you search for “Layer Acrylic Case Raspberry Pi”.
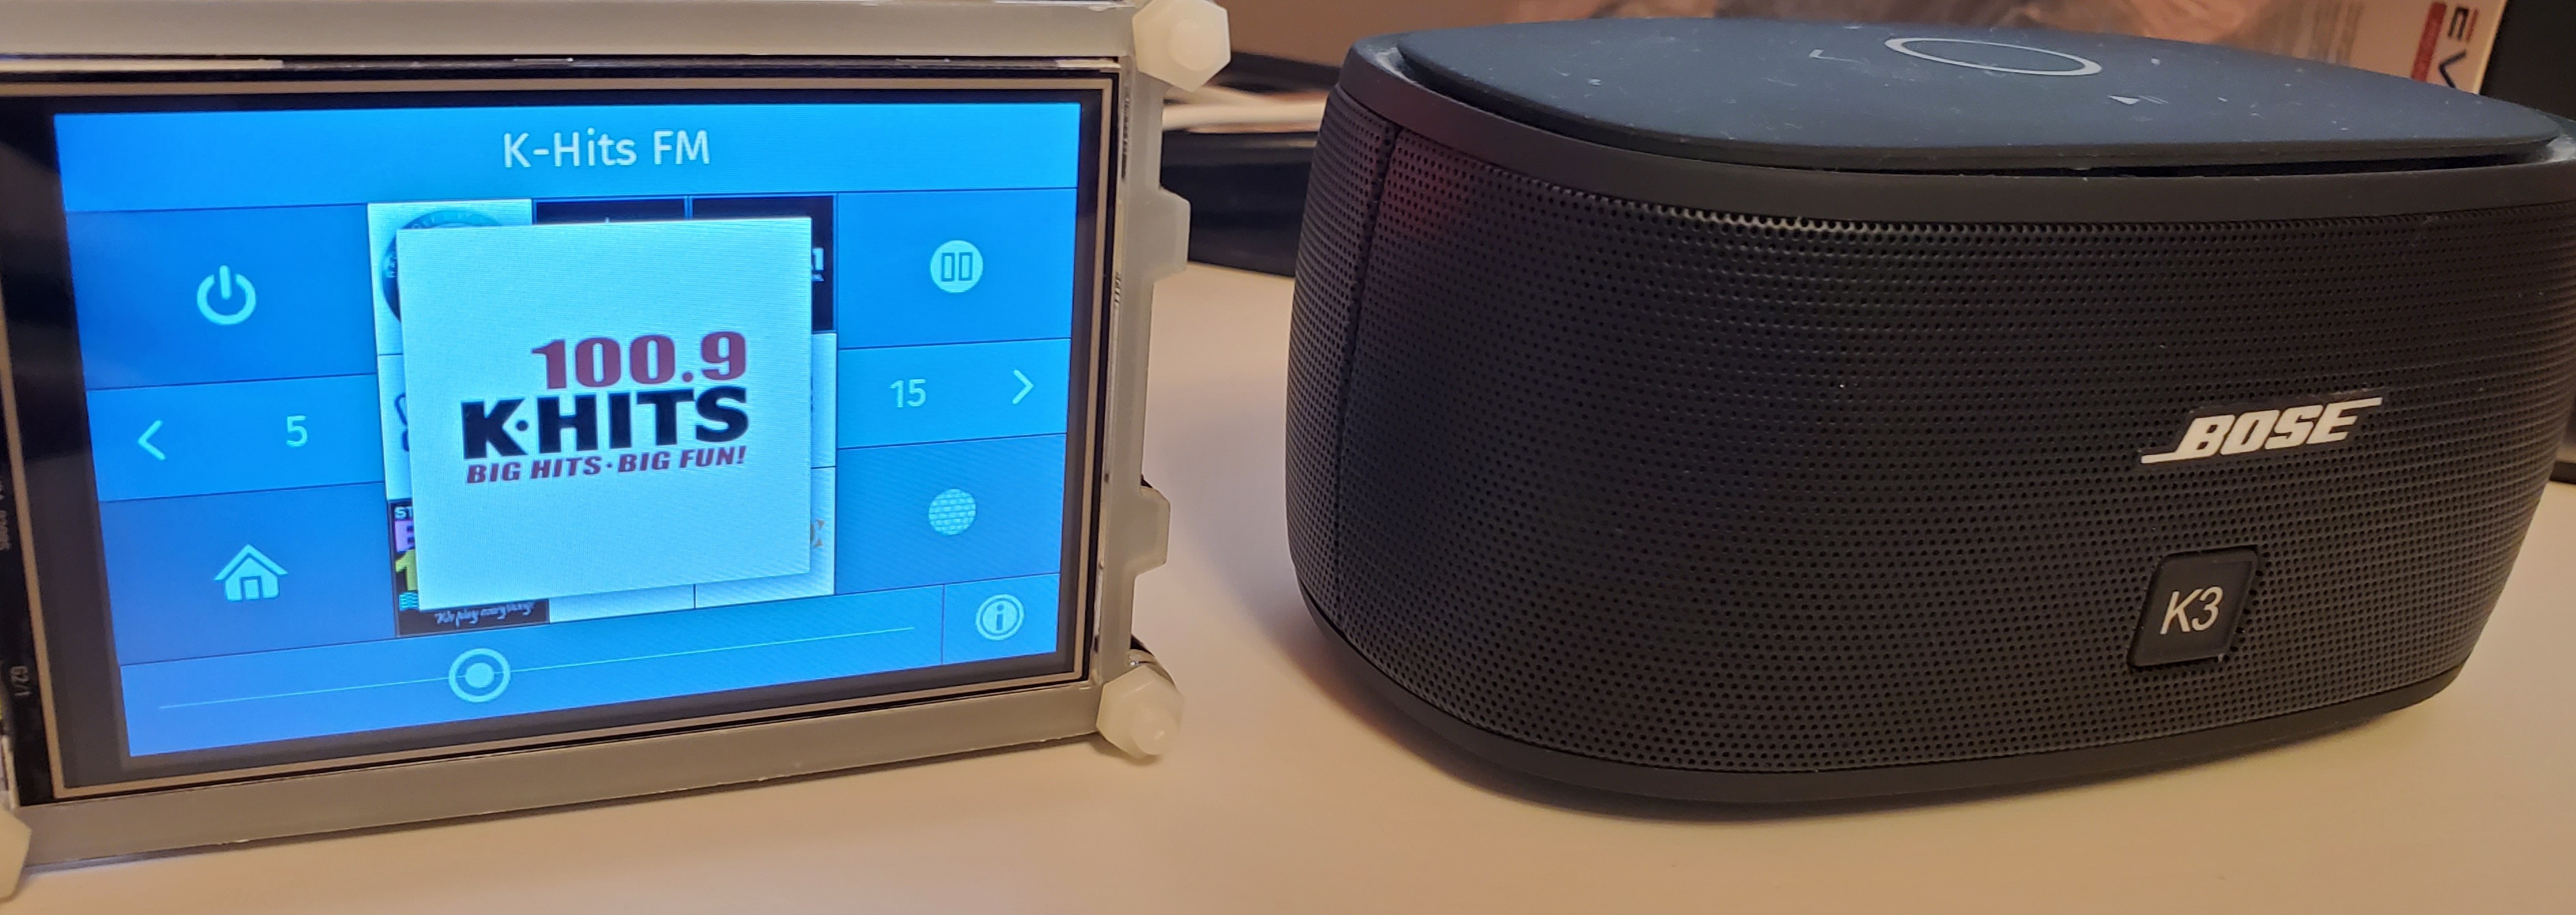
And finally, we need a speaker to play the sound. It could very well be a wired speaker that is directly connected to Raspberry Pi using the 3.5mm headphone connector or a USB port but I used a wireless Bluetooth speaker so that we I can move it around easily.
Initial Setup
For the initial setup, connect a USB keyboard and mouse and a monitor (using HDMI cable) to the Raspberry Pi. On a computer download Raspberry Pi OS and install the image on a micro SD card.
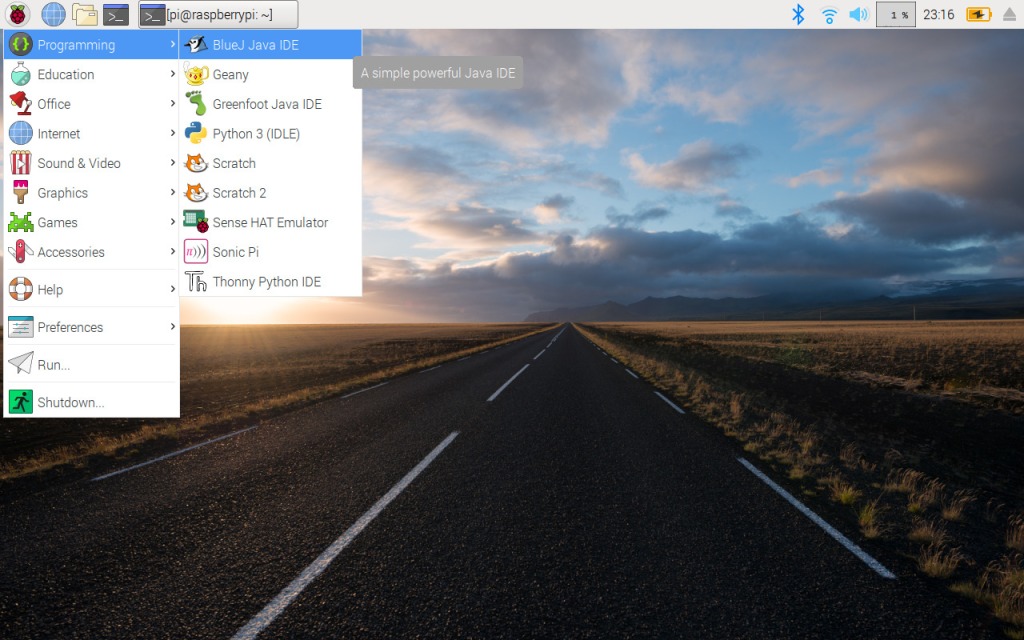
Installing Raspberry Pi OS on a micro SD card
After SD card is ready, insert it into Raspberry Pi board and switch the power on. Follow the instructions on the screen to complete Raspberry Pi OS installation. After the installation you should see Raspberry Pi desktop.
Using icons on top right connect to your WiFi network and pair with your Bluetooth speaker. Play some music or a YouTube video to test that the network and Bluetooth connections are working.
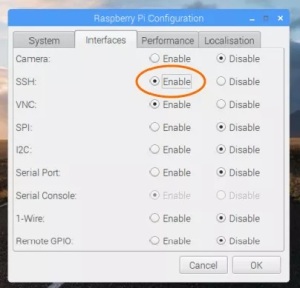
Also, using the menu “Preferences->Raspberry Pi Configuration” enable SSH to be able to login to Raspberry Pi remotely from other computers.
Install Peppy media player
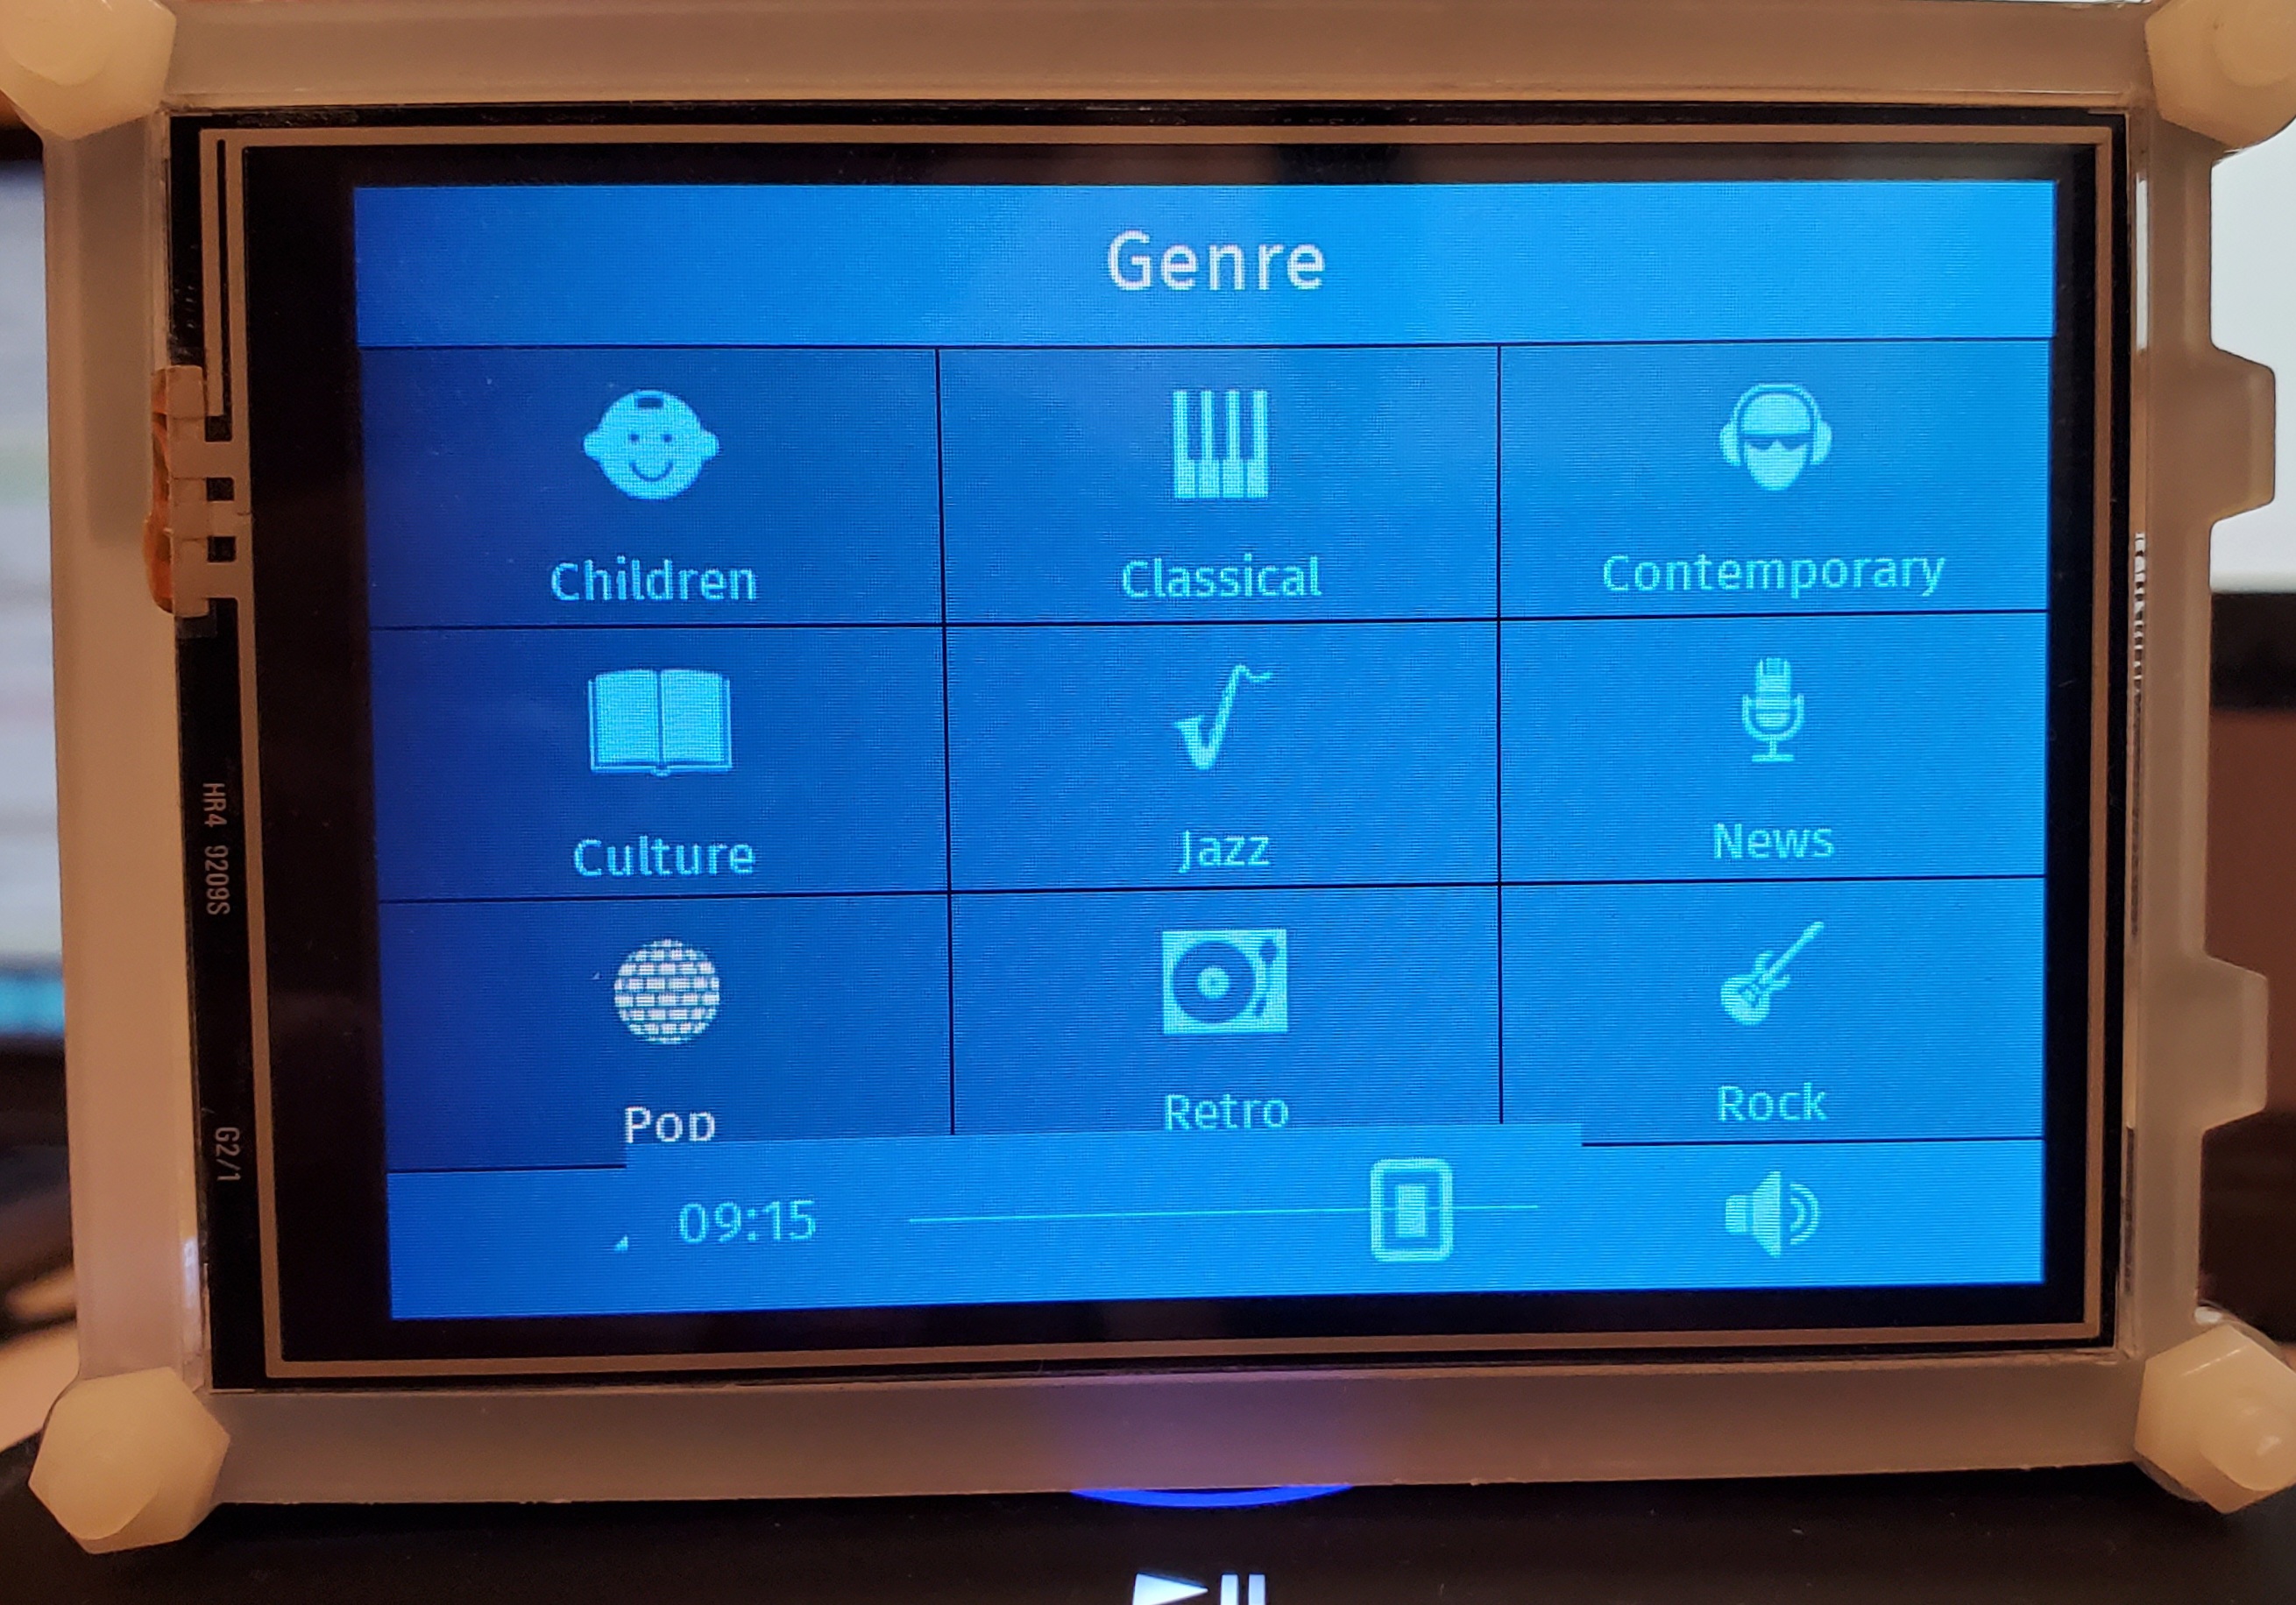
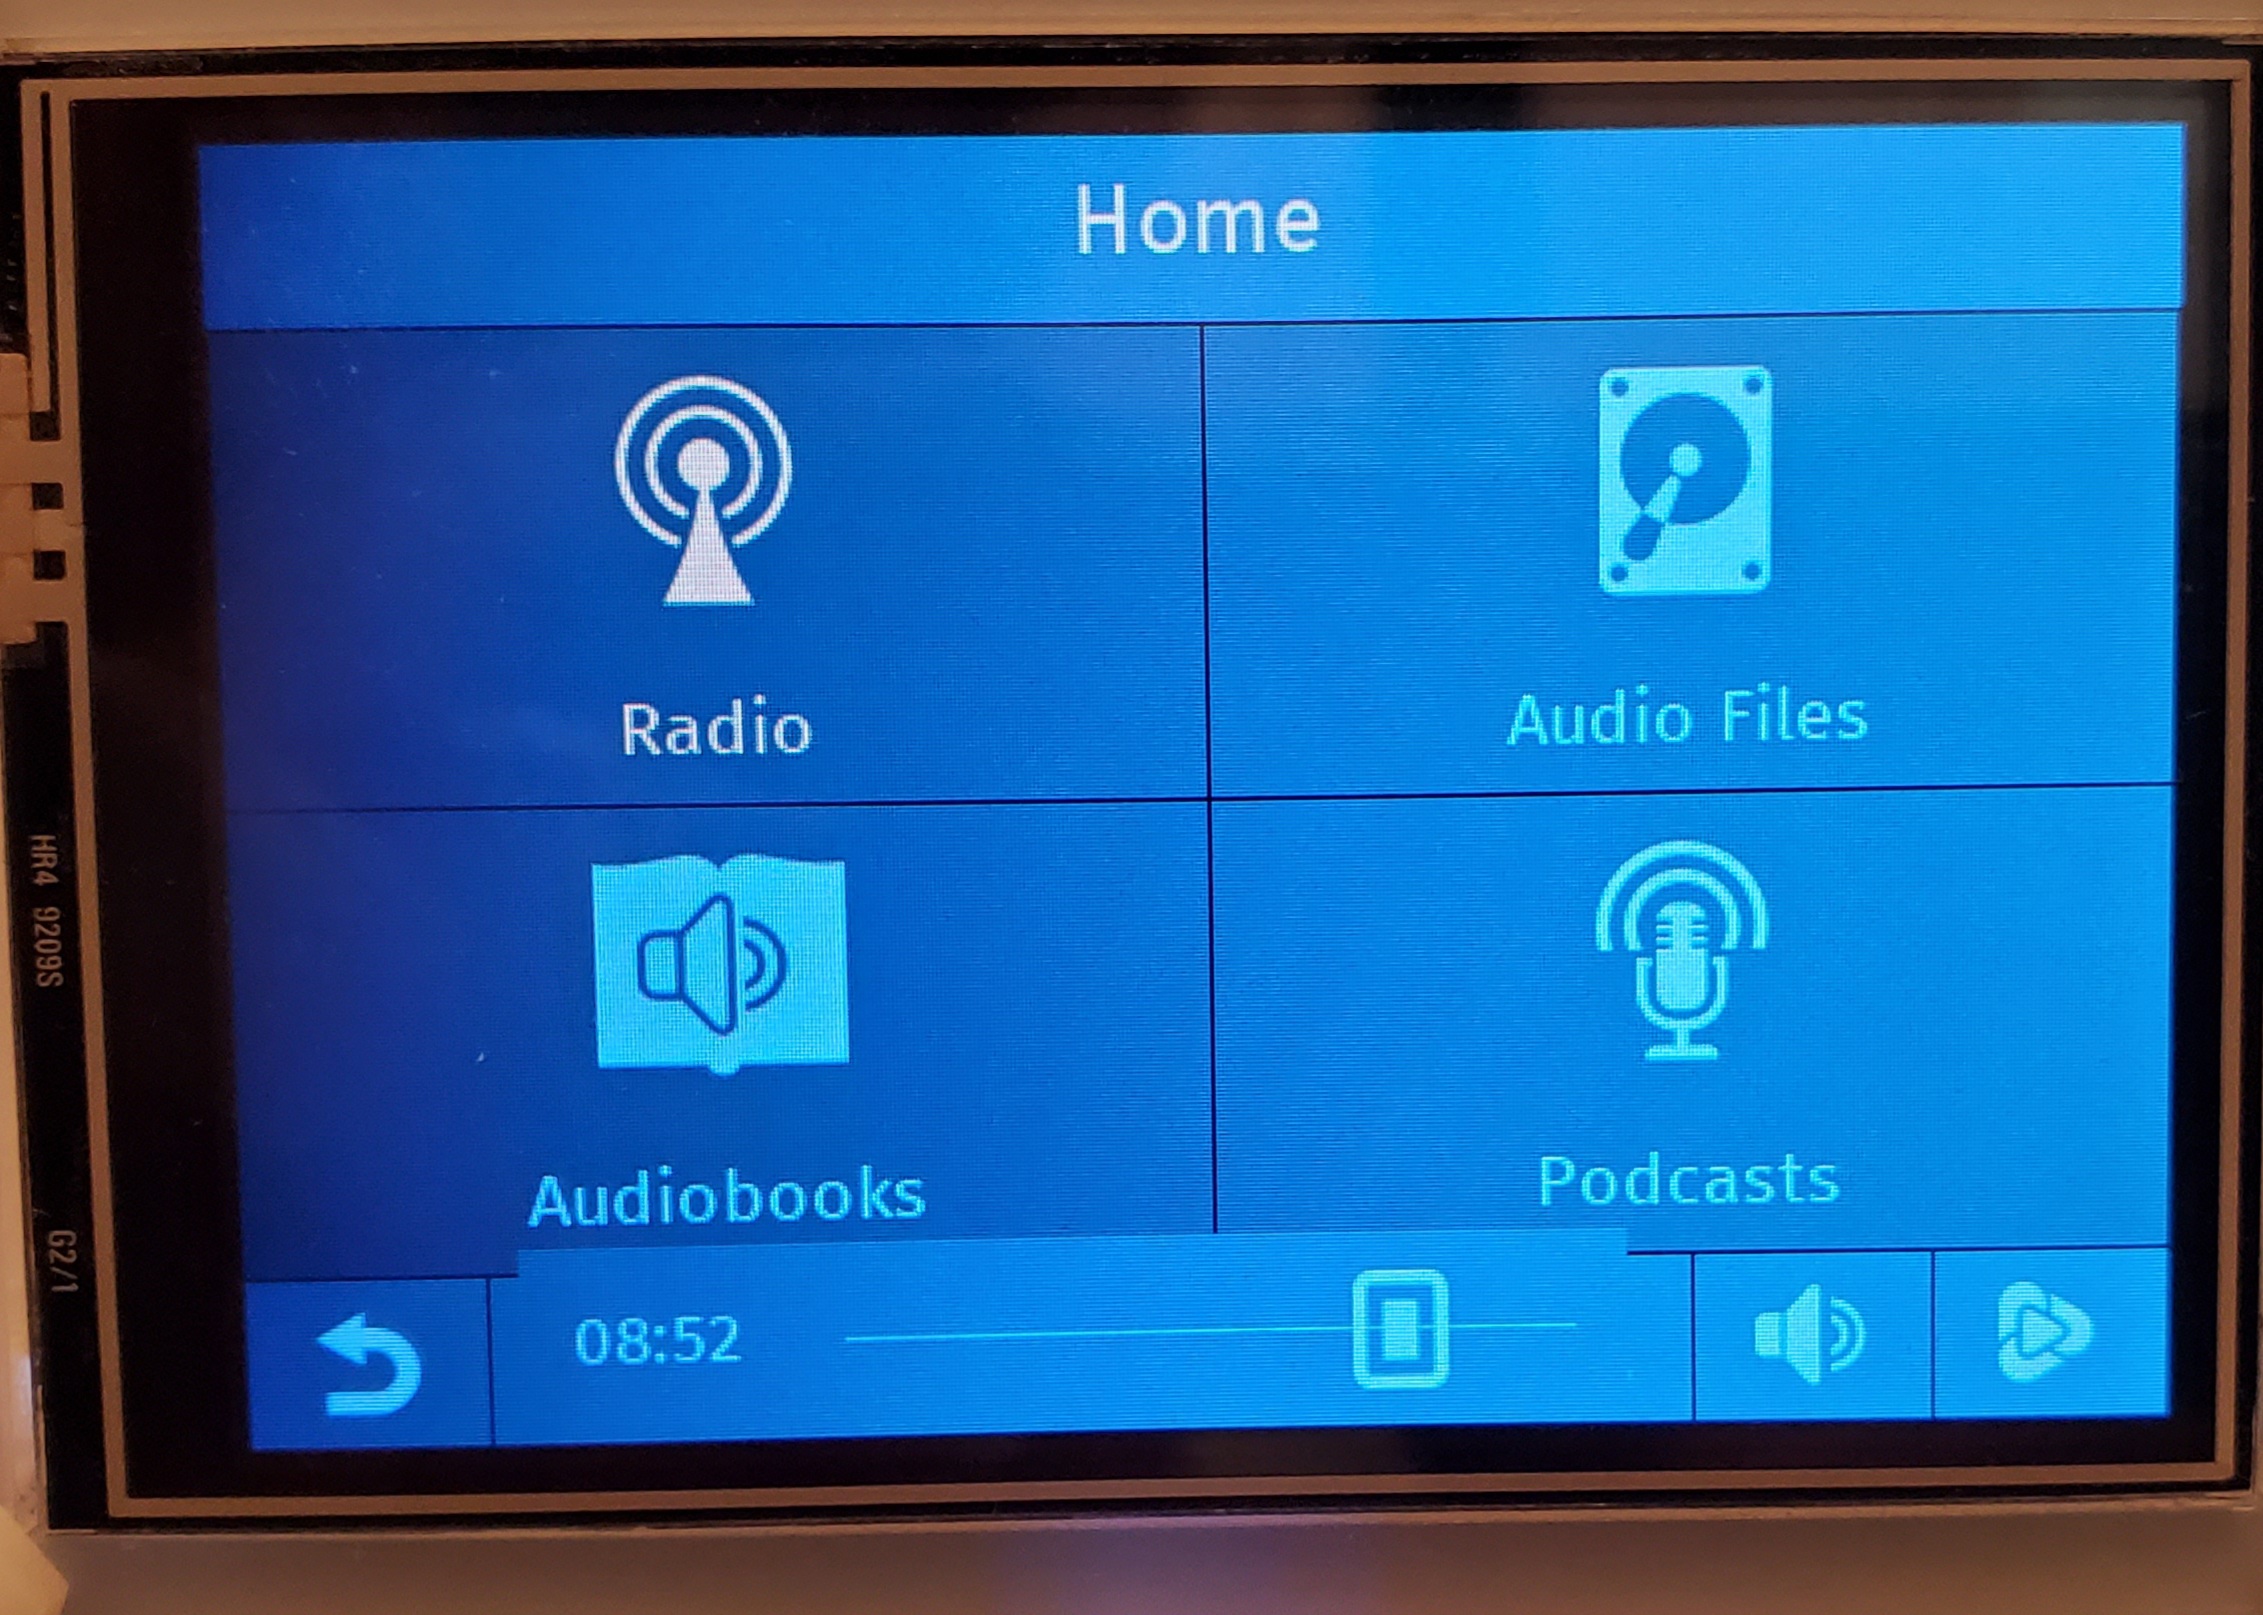
While searching for a media player for Raspberry Pi that is suitable for a small touchscreen I came across Peppy. It is an open source media player that includes internet radio, audio-books and podcast playback along with the usual audio file and stream playback. The source code for Peppy is available at GitHub https://github.com/project-owner/Peppy.
Follow the instructions at https://github.com/project-owner/Peppy.doc/wiki/Expert to install Peppy except don’t change the Raspberry Pi OS Boot Option to “login to console with automatic login as pi user” and don’t modify “/etc/rc.local” yet as we want to make sure that the player works fine as a Desktop application before we switch to full screen mode.
I also skipped most other configuration listed on this page that I did not need at this time including “shairport-sync installation”, “raspotify installation”, “Equalizer Configuration”, “Peppyalsa Plugin Configuration”, “Splash Screen Configuration”, “Configure LIRC and Pylirc” and “Rotary Encoders Configuration”.
I did not follow “Adafruit 3.5″ LCD Configuration” as I used a different LCD (from Kumantech as mentioned above).
But I did set up Peppy to play audio via Bluetooth speaker we connected earlier by following instructions “Configure Bluetooth speaker as ALSA device” given at https://github.com/project-owner/Peppy.doc/wiki/Bluetooth-Devices. Also, change the configuration in /home/pi/Peppy/config.txt.
bluetooth = True
When the player is installed, open a terminal window and launch the player by running the following command (assuming that the player is installed at /home/pi/Peppy)
cd /home/pi/Peppy
python3 peppy.py
This should open Peppy as a normal Desktop application. Make sure that the controls are working and Peppy is able to play an internet radio via the Bluetooth speaker. If something is not working, we need to fix it now before attempting to run Peppy full screen.
Making LCD touchscreen work
After Peppy media player is fully working as a Desktop application, it is time to make the LCD touchscreen work.
Peppy player’s wiki gives instruction to configure Adafruit LCD and most other Raspberry Pi displays work with goodtft driver from GitHub. But for the LCD I used I download the LCD driver from Kumantech website (go to the download page and select 3.5″ LCD) as none of the other drivers worked.
Extract the driver compressed file and run
sudo LCD35-show
It installs a bunch of stuff and modifies /boot/config.txt. After the reboot the LCD touchscreen should work.
One thing I noticed that the picture was upside-down (the power connection was at the bottom but I wanted it at the top so that I can place the Raspberry Pi on a desk)
It is easy to rotate the picture by changing
dtoverlay=tft35a
to
dtoverlay=tft35a:rotate=270
in /boot/config.txt file.
Starting Peppy player in fullscreen mode
First we need to disable the Desktop environment starting at reboot. To do this, connect to your Raspberry Pi through SSH from a computer and run the following command after logging in
sudo raspi-config
Select the following items in menu:
- Boot Options
Desktop CLI/Console Autologin To login to console with automatic login as pi user
Installation instructions in Peppy player’s wiki suggest that if we add the following line at the end of /etc/rc.local file just before 'exit 0' line, We should get Peppy player started at reboot in the fullscreen mode.
su pi -c 'cd /home/pi/Peppy; openvt -s -- python3 peppy.py'
It worked except that there was no touchscreen functionality. It seems that the touchscreen driver is not loaded when we try to run Peppy this way. One thing to note was that touchscreen was working in the Desktop environment in the previous step before we disabled it and decided to boot in the console mode.
I came up with the following workaround which is not the most elegant one but it did the job. First, I reverted the change in /etc/rc.local file. Then I created the /home/pi/.xinitrc file with the following code
session=${1:-lxde}

case $session in
    lxde           ) exec startlxde-pi;;
    lxterm         ) exec lxterminal;;
    peppy          ) exec lxterminal -e "cd /home/pi/Peppy; python3 peppy.py";;
esac
If after booting into the console mode, the startx command is run with the first option lxde (which is also the default option), it starts Raspberry Pi OS Desktop.
startx ~/.xinitrx lxde
The second option starts an lxterminal in full screen mode. Even though it is a terminal, it is a desktop terminal application, so X server is started and touchscreen driver is loaded.
startx ~/.xinitrc lxterm
The third option starts an lxterminal with a command to run inside it. The command passed using the '-c' tells lxterminal to change directory to Peppy player’s installation directory and start the player from there.
startx ~/.xinitrc peppy
If this command is added to .bashrc file, it will be executed automatically after every reboot (actually after every login, but we have selected to boot to console with autologin above). We just have to make sure that we don’t run this command when logging in via SSH from a remote computer.
if [ -n "$SSH_CLIENT" ] || [ -n "$SSH_TTY" ]; then
        echo "SSH session, not starting X server."
else
        startx ~/.xinitrc peppy
fi
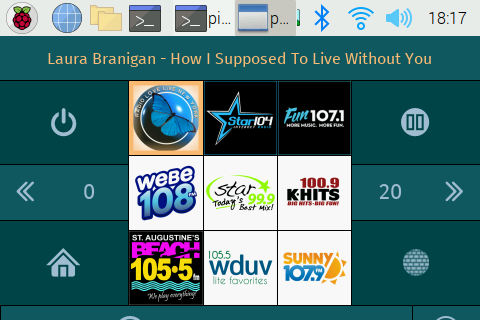
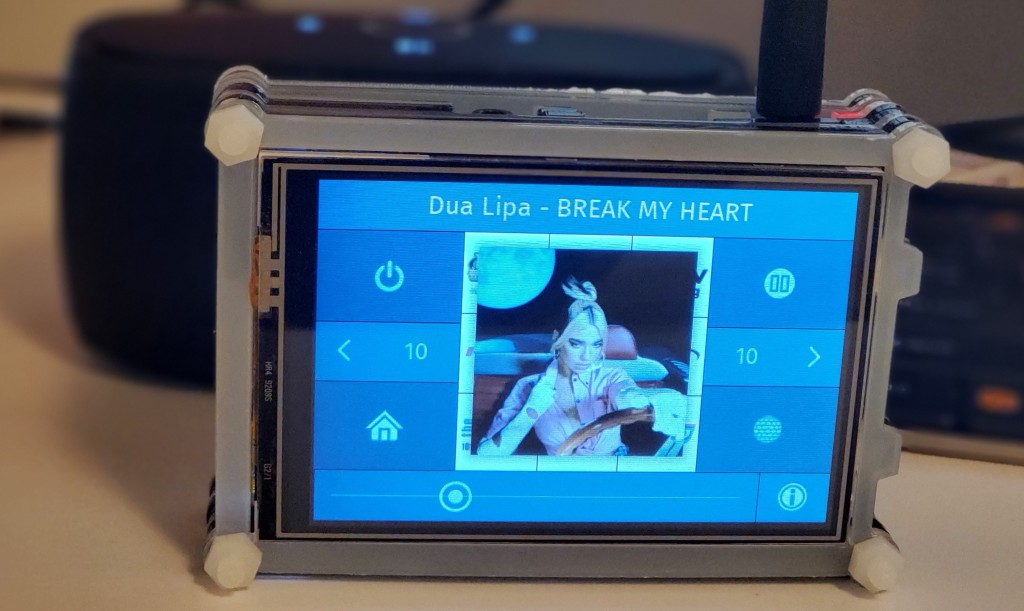
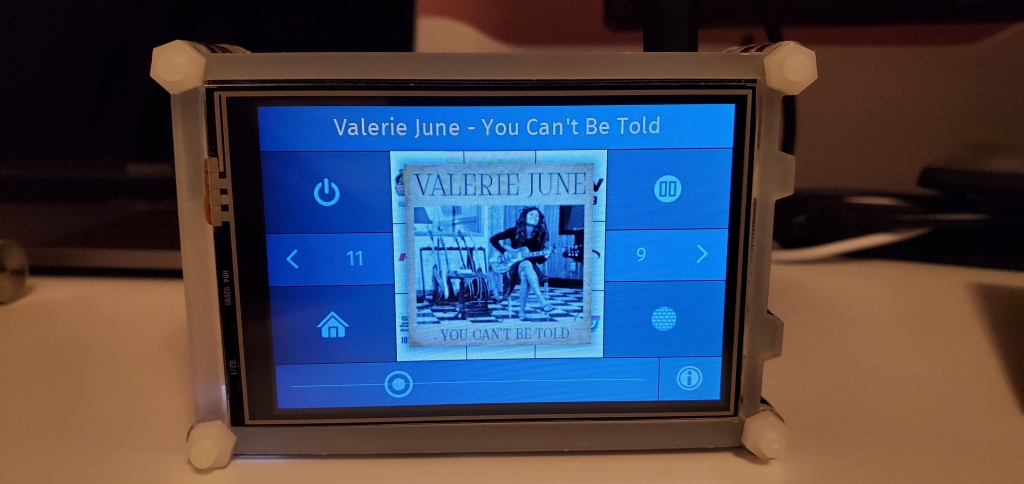
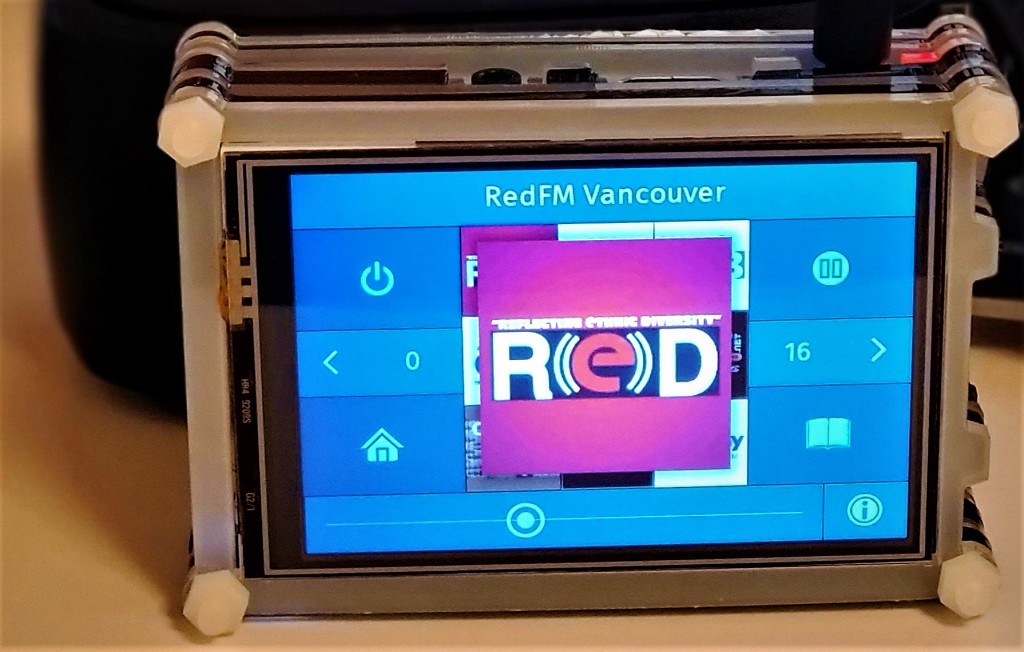
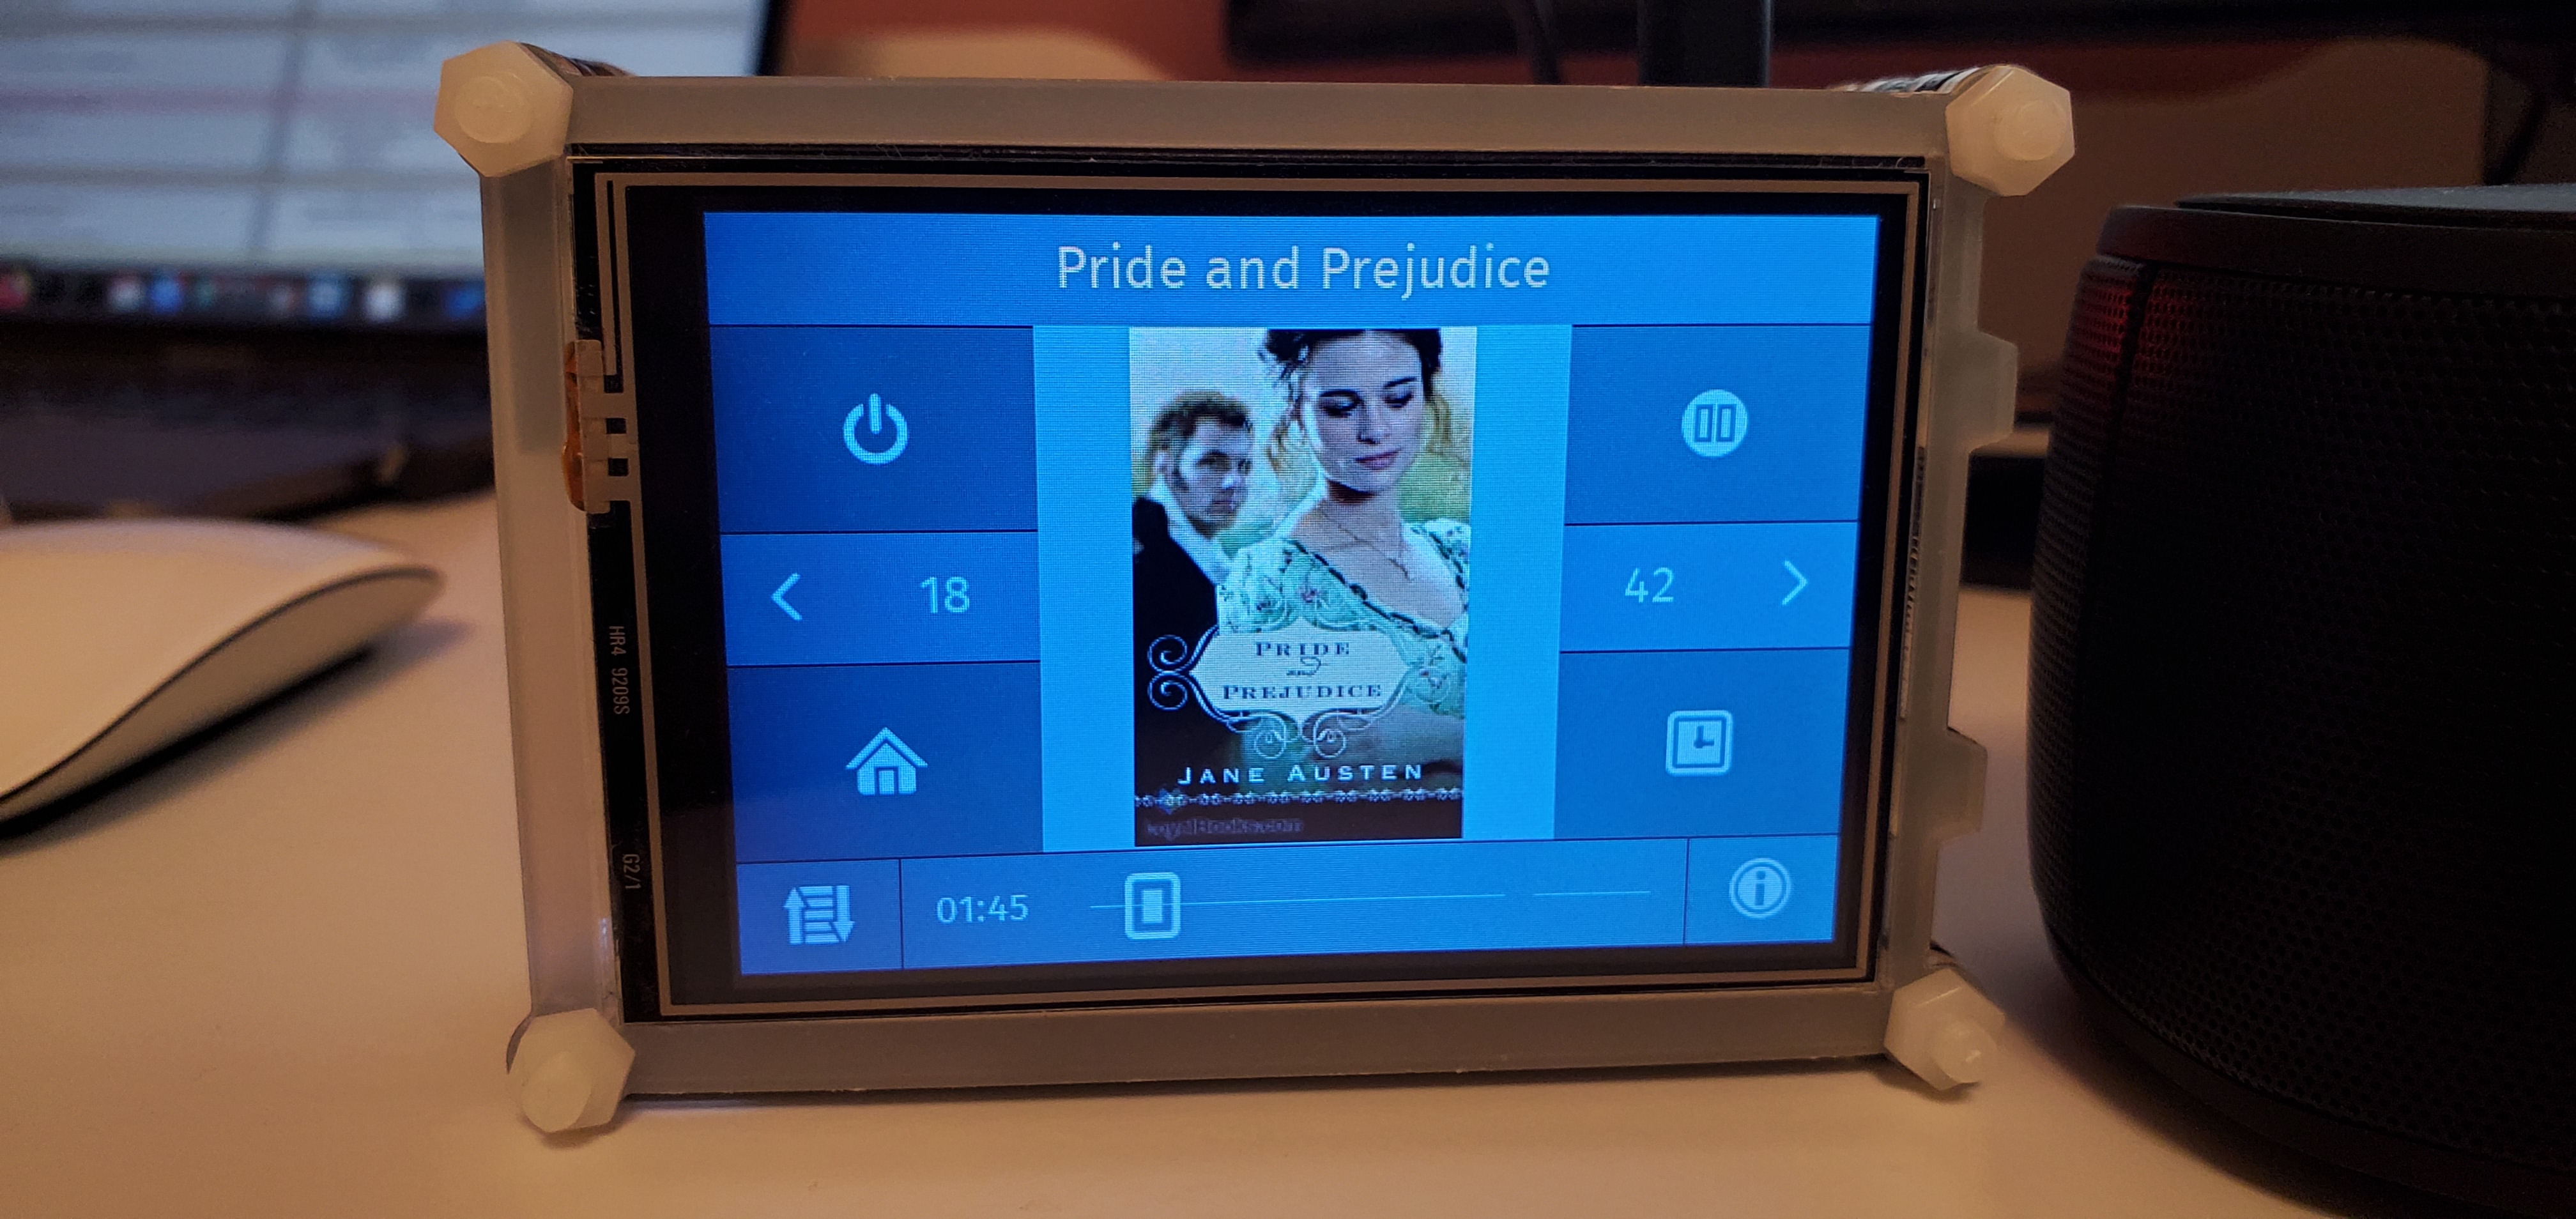
Raspberry Pi Touchscreen Internet Radio, Music Player
And here is it. After the reboot, Peppy player should start in full screen mode with touchscreen functionality.

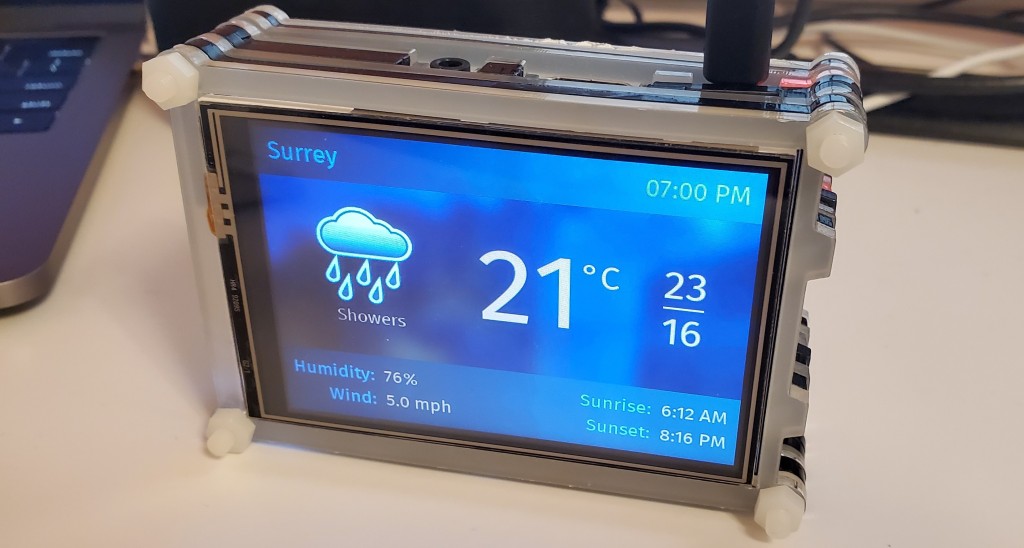
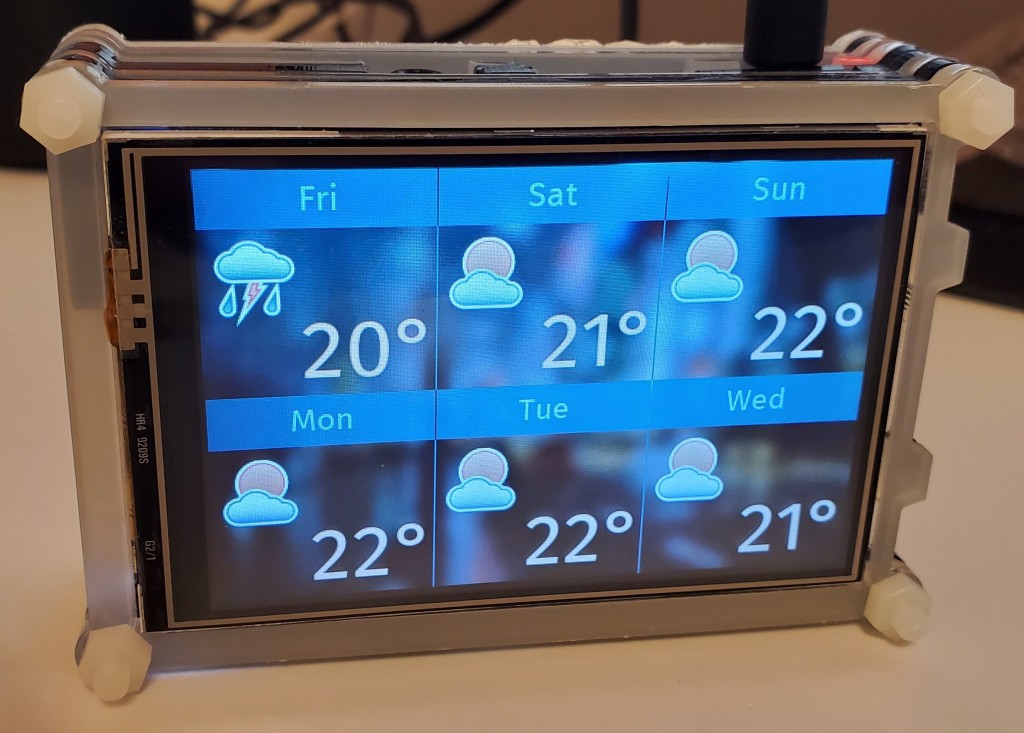
Weather station
Another good thing about Peppy player is that it has a WebUI for configuration. It can be used to configure your current location to fetch the weather information from the internet.
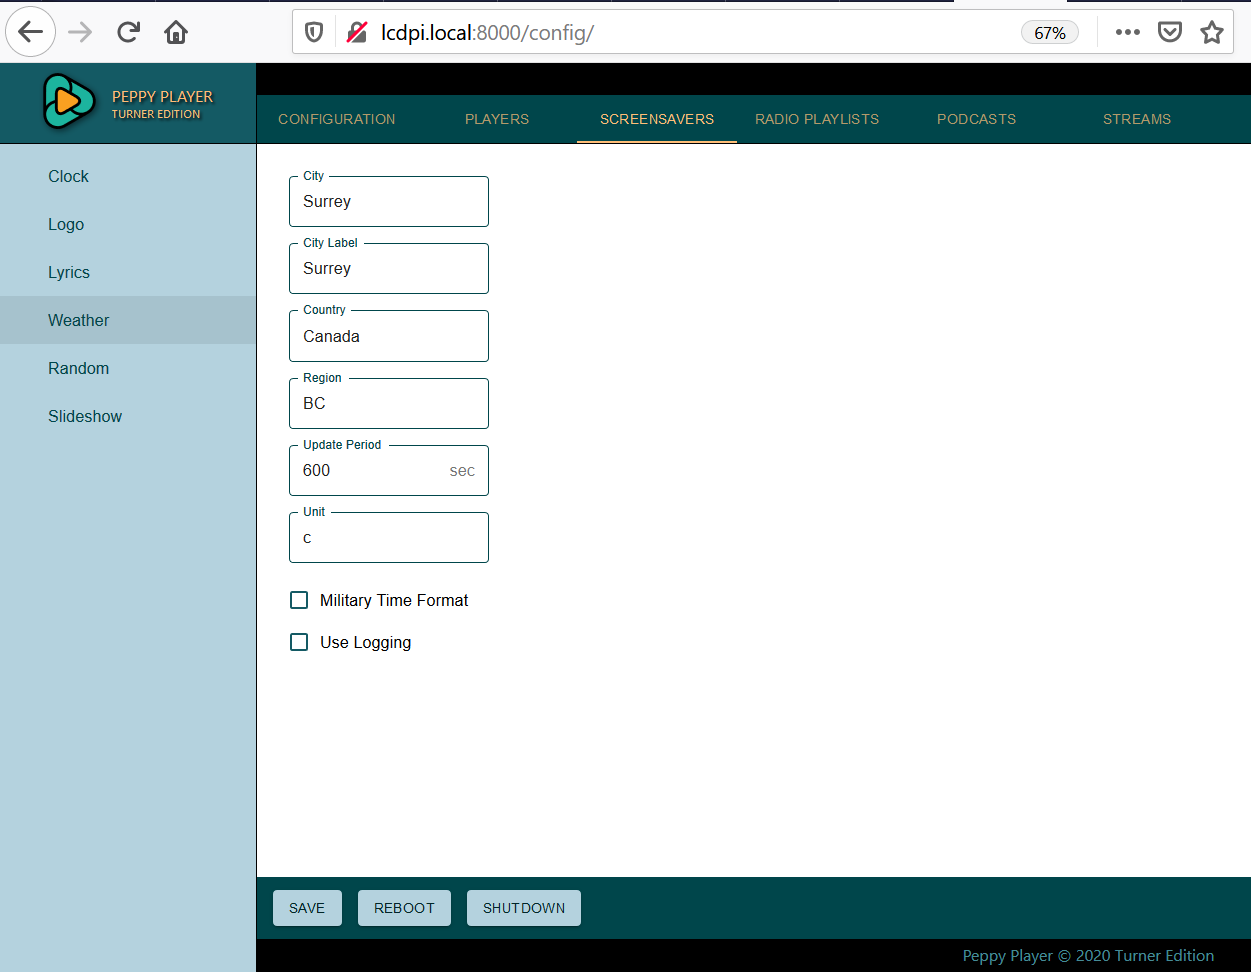
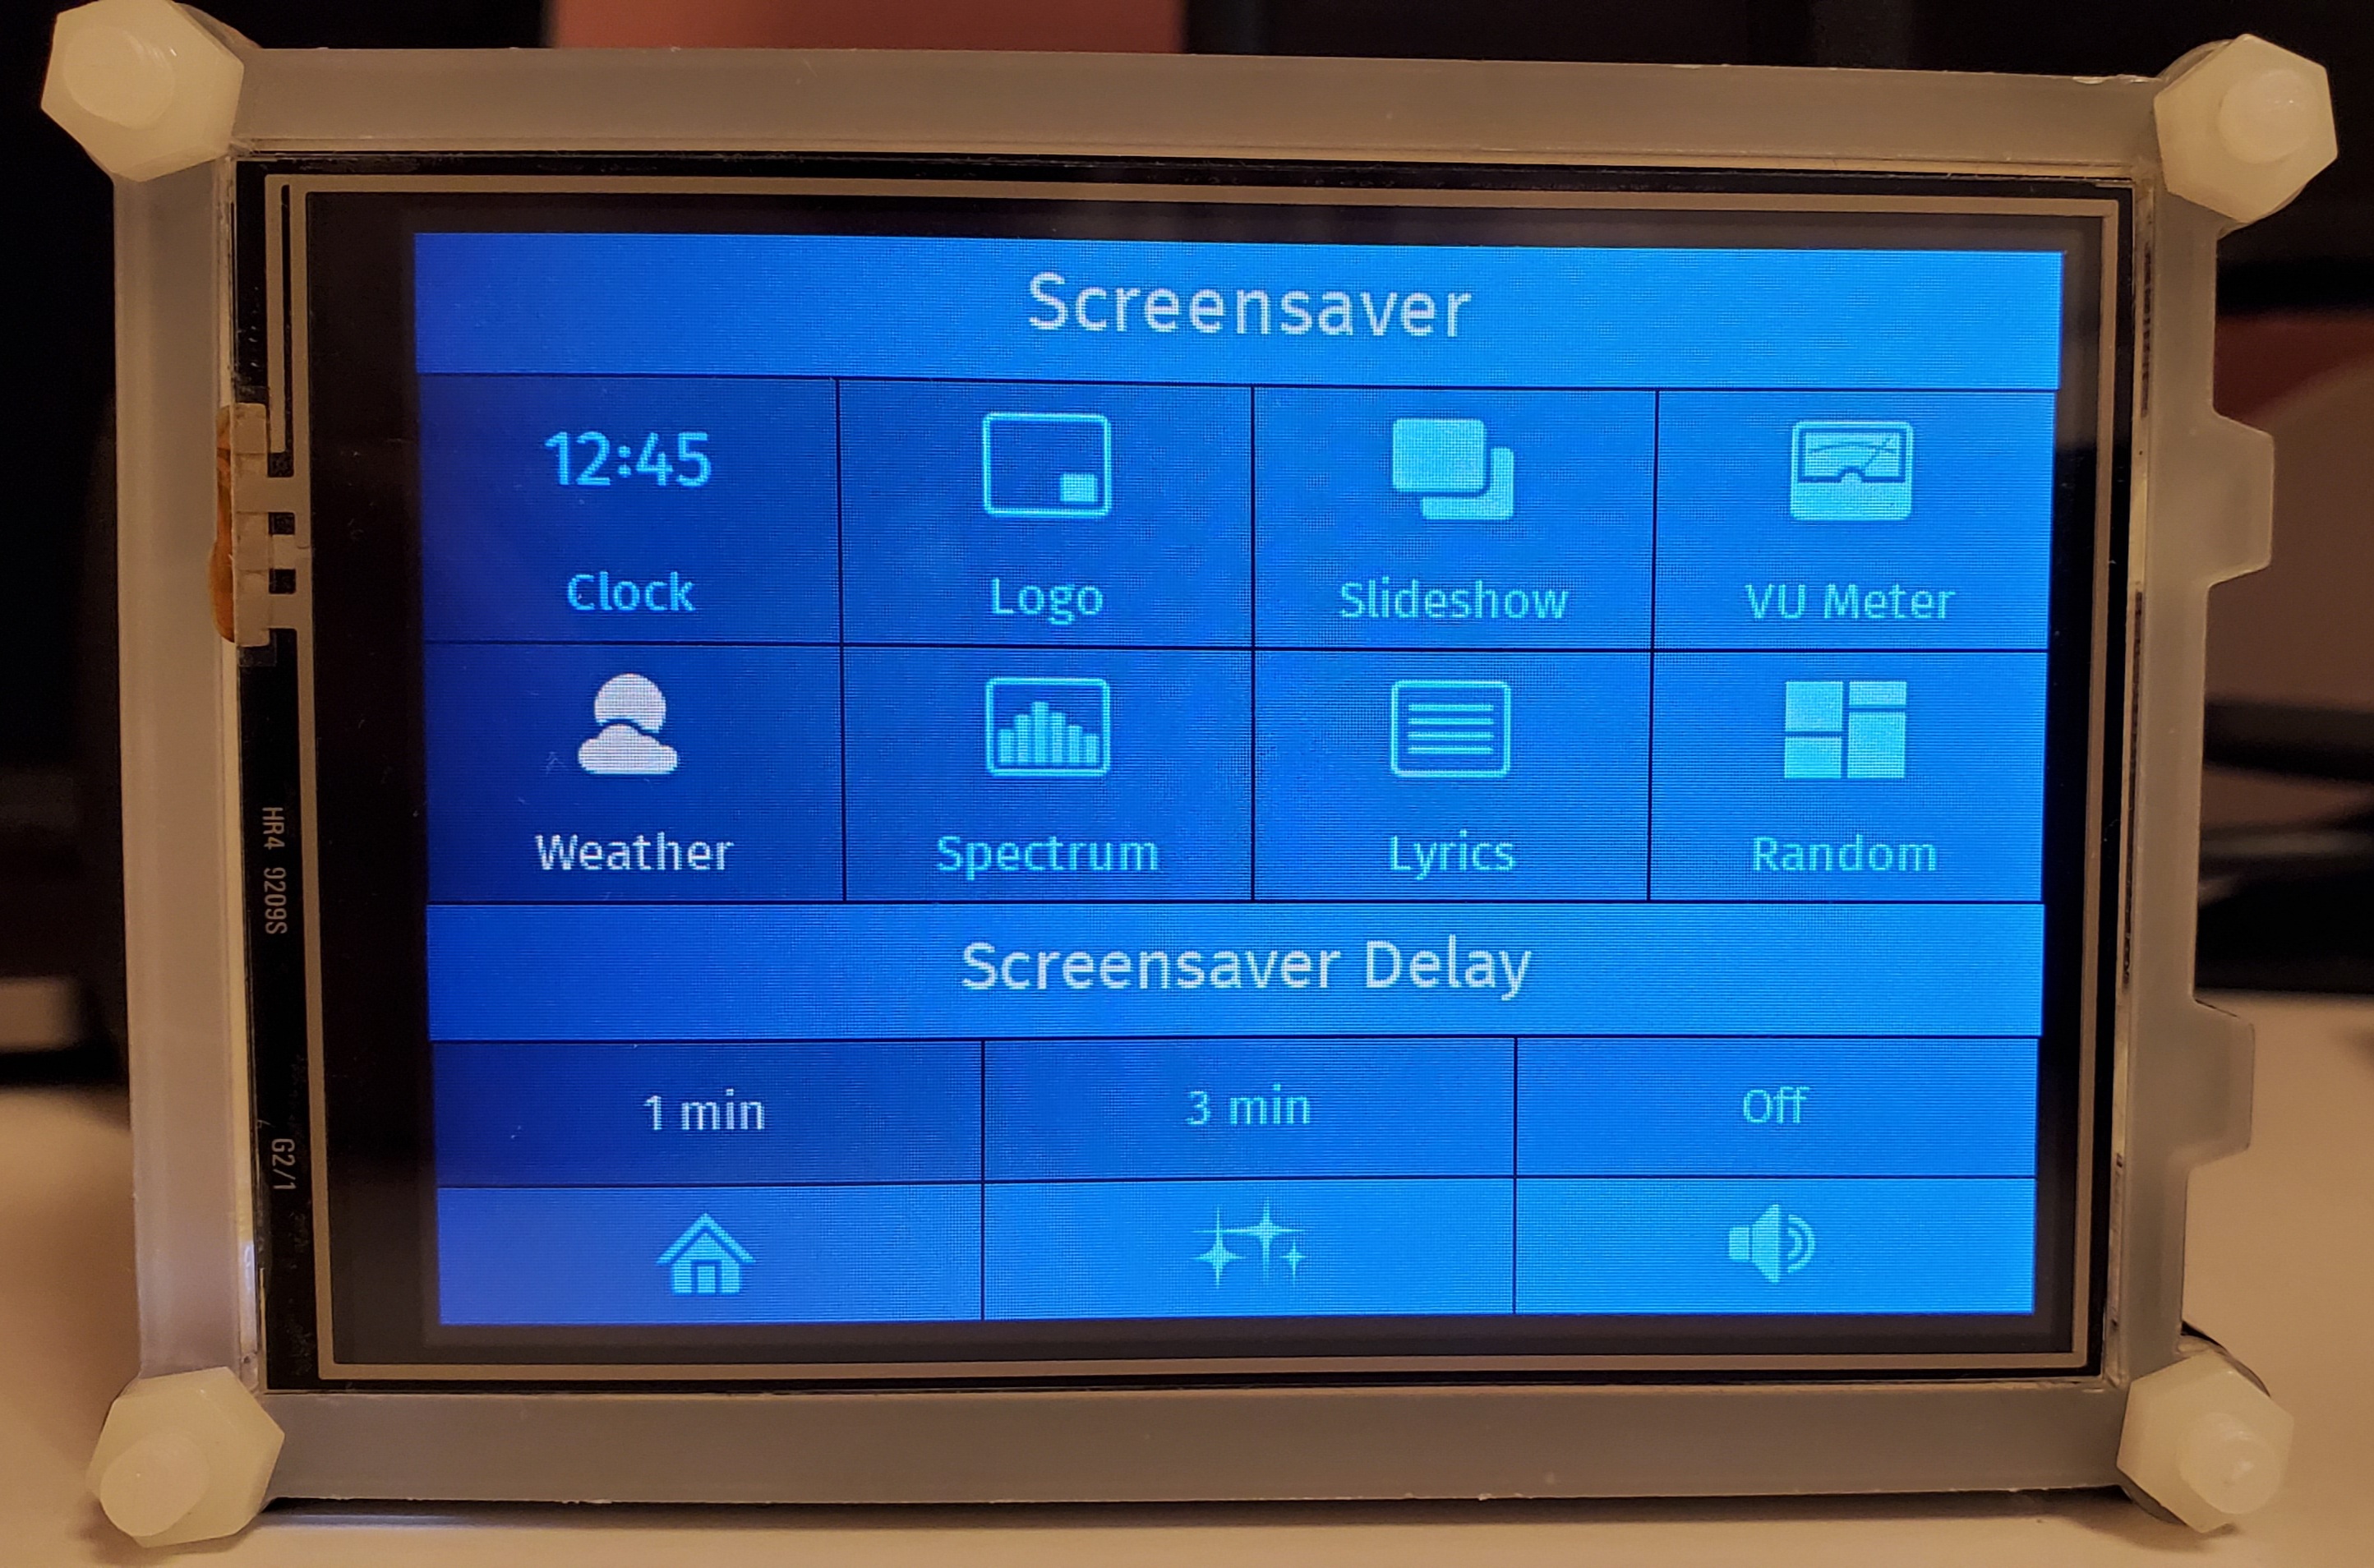
After configuring the location, just set ‘weather’ as the screensaver and we have a weather station.

And that’s it! Enjoy your new internet radio.
