Introduction
If you’re building with Generative AI, you’ve likely been exploring the power of AI agents – applications that can perform complex reasoning, plan sequences of actions, and interact more dynamically. LangGraph (from LangChain-ai) is a popular open-source framework ideal for mapping out how LLM calls and tools connect to bring your AI agents to life. But what happens when you’re ready to move your LangGraph agents from your local machine to the cloud?
While LangChain-ai offers its own paid platform, “LangGraph Platform”, for deploying these agents, you’re not limited to it. With a bit of setup, you can deploy your LangGraph agents on robust and scalable platforms like Google Cloud Platform (GCP) Cloud Run. Personally, LangGraph and Cloud Run are two of my favorite products because of how easy they are to get started with, yet how powerful they are under the hood.
This post will guide you through deploying your LangGraph agent to Cloud Run using FastAPI, or more specifically, another LangChain-ai project called Langserve, which handily wraps FastAPI and Pydantic for a smoother experience.
We’ll walk through the development path, from introducing a sample LangGraph agent to deploying it as a containerized application on GCP Cloud Run.
NOTE: In this post, we’ll explore how to build Agentic AI workflows—without using Anthropic’s Model Context Protocol (MCP) or Google’s Agent-to-Agent (A2A) protocol. While these protocols are popular, they aren’t required for our approach.
1. A Quick Look: LangGraph, GCP Cloud Run, and Our Approach
So, what are these key pieces we’re working with?
 LangGraph: From LangChain-ai, this is an open-source framework for building those complex AI agent workflows we talked about. Think of it as a way to map out how your agent thinks and acts, using a graph-based approach to manage all the moving parts. It’s fantastic for building AI that can reason, plan, and execute multi-step tasks.
![]() Cloud Run: This is Google Cloud’s serverless platform for running containerized applications. The beauty of it is that you just give it your container, and it handles the rest – scaling up or down (even to zero, so you only pay for what you use) and making your app available via an HTTP request. It’s a really straightforward way to get web apps and APIs live.
Cloud Run: This is Google Cloud’s serverless platform for running containerized applications. The beauty of it is that you just give it your container, and it handles the rest – scaling up or down (even to zero, so you only pay for what you use) and making your app available via an HTTP request. It’s a really straightforward way to get web apps and APIs live.
For deploying our LangGraph agent, we’re taking a shortcut. We could use FastAPI directly to build an API around our LangGraph agent, but LangChain-ai offers another helpful tool called Langserve. It’s built on FastAPI and adds some nice conveniences specifically for serving LangChain components, which makes it a great fit for our needs in this guide.
2. Our Star: A Simple LangGraph Agent
To illustrate the deployment process, we’ll work with a simple LangGraph agent.
To get started with LangGraph itself, we’ll install it using the command:
pip install -U langgraphNow we’ll create a simple LangGraph chatbot agent. The graph has three nodes and four edges. The primary chatbot node calls the LLM, while the inp and outp nodes handle input and output processing, respectively.

import os
import operator
from typing import Annotated, Sequence

from langchain_core.messages import BaseMessage, HumanMessage
from langchain.chat_models import init_chat_model
from langchain_openai import ChatOpenAI
from pydantic import BaseModel
from typing_extensions import TypedDict

from langgraph.graph import StateGraph, START, END
from langgraph.graph.message import add_messages


os.environ["OPENAI_API_KEY"] = "your-api-key"

class State(TypedDict):
    messages: Annotated[Sequence[BaseMessage], operator.add]

class InputState(TypedDict):
    input: str

class OutputState(TypedDict):
    output: str

llm = init_chat_model("openai:gpt-4.1")
def chatbot(state: State):
    return {"messages": [llm.invoke(state["messages"])]}

def inp(state: InputState):
    question = state["input"]
    return {"messages": [HumanMessage(content=question)]}

def outp(state) -> OutputState:
    msg = state["messages"][-1].content
    return {"output": msg}


graph_builder = StateGraph(State, input=InputState, output=OutputState)

graph_builder.add_node("inp", inp)
graph_builder.add_node("outp", outp)
graph_builder.add_node("chatbot", chatbot)

graph_builder.add_edge(START, "inp")
graph_builder.add_edge("inp", "chatbot")
graph_builder.add_edge("chatbot", "outp")
graph_builder.add_edge("outp", END)

graph = graph_builder.compile()
We can test it by calling its invoke function directly.
result = graph.invoke({"input": "What is the Capital of Canada?"})
print(result["output"])
3. Enter Langserve: Ready to Serve
Langserve is designed to make it easy to deploy LangChain Runnables and Chains (and by extension, LangGraph agents) as REST APIs. It handles input and output parsing, provides a nice web UI for interacting with your deployed agent, and more.
Interestingly, Langserve utilizes Poetry for project management and dependency handling. So, the initial setup involves a few command-line steps:
pipx install poetry
pip install "langserve[all]"
pip install -U langchain-cli
Finally, LangChain CLI provides a handy command to bootstrap a new Langserve application,
langchain app new my-agentThis sets up a skeleton Langserve application, ready for us to integrate our LangGraph agent.
Note
According to LangChain-ai, Langserve is not going to get any new features but it already has what we need.
4. Weaving It Together: LangGraph Agent Meets Langserve
Now, we need to incorporate our previously developed LangGraph agent code into the Langserve application structure we just created. A common approach is to place our agent’s code within a local Python package inside the Langserve project. For instance, we could create a directory, say packages/my_graph, within our my-agent Langserve project and put our LangGraph agent’s Python files there. We’ll also add __init__.py and pyproject.toml files, so that Poetry can install it easily.
my-agent
    ├── app
    │   ├── __init__.py
    │   └── server.py
    ├── packages
    │   └── my_graph
    │       ├── __init__.py
    │       ├── my_graph.py
    │       └── pyproject.toml
    ├── poetry.lock
    ├── pyproject.toml
    ├── Dockerfile
    └── README.md
We’d run a Poetry command to add this local package,
poetry add packages/my_graphThe final piece of this integration puzzle is to connect our LangGraph agent to Langserve’s server.py file. This typically involves importing our agent from the my_graph package and using Langserve’s functions (like add_routes) to expose it via API endpoints.
from fastapi import FastAPI
from fastapi.responses import RedirectResponse
from langserve import add_routes

from my_graph import graph as langgraph_app


app = FastAPI()

@app.get("/")
async def redirect_root_to_docs():
    return RedirectResponse("/docs")

add_routes(app, langgraph_app, path="/chat", disabled_endpoints=["playground", "batch"])


if __name__ == "__main__":
    import uvicorn

    uvicorn.run(app, host="0.0.0.0", port=8000)
5. Local Test Drive: Ensuring Everything Clicks
With our LangGraph agent integrated into the Langserve application, it’s crucial to test it locally before containerizing and deploying. Poetry again makes this straightforward. From within our my-agent project directory, we can start the development server using a command:
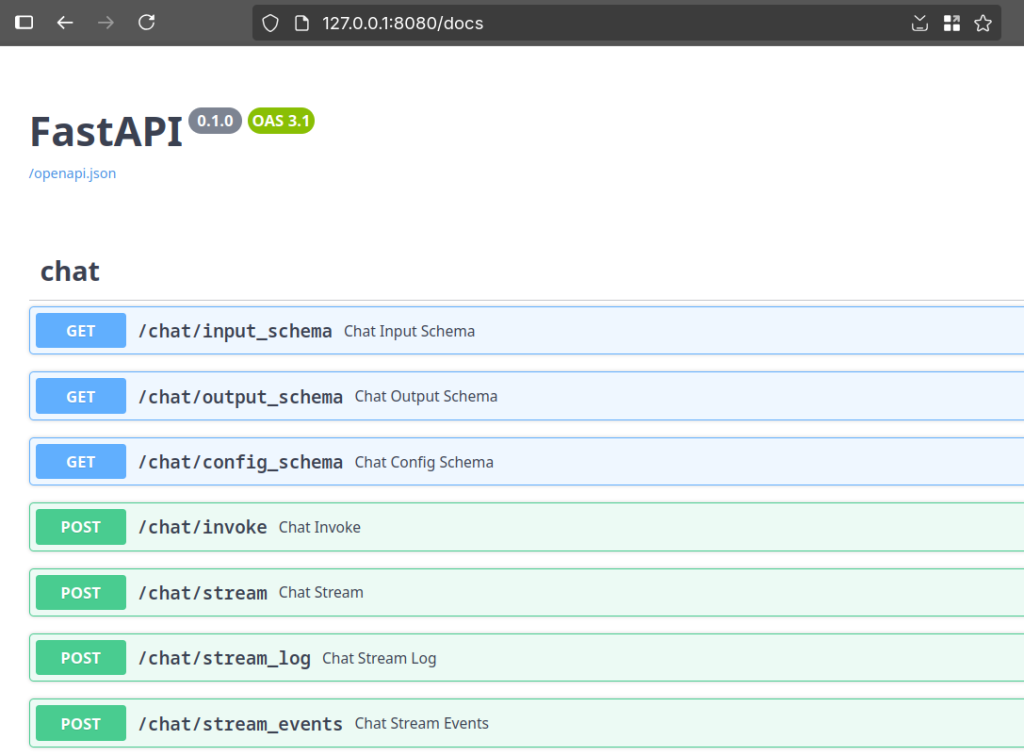
poetry run langchain serve --port=8080This will fire up a local web server, typically with a UI (thanks to Langserve) where you can interact with your agent’s endpoints, send requests, and verify that it’s working as expected. Port 8080 is just an example; you can configure it to your preference.
6. Dockerizing: Packaging Our Agent for Portability
Once we’re confident that our Langserve app with the integrated LangGraph agent is running smoothly locally, the next step is to containerize it using Docker. This involves creating a Dockerfile in the root of our my-agent project.
FROM python:3.11-slim

RUN pip install poetry==1.6.1

RUN poetry config virtualenvs.create false

WORKDIR /code

COPY ./pyproject.toml ./README.md ./poetry.lock* ./

COPY ./package[s] ./packages

RUN poetry install  --no-interaction --no-ansi --no-root

COPY ./app ./app

RUN poetry install --no-interaction --no-ansi

EXPOSE 8080

CMD ["uvicorn", "app.server:app", "--host", "0.0.0.0", "--port", "8080"]
After crafting the Dockerfile, we build the Docker image and then run it using the following commands:
docker build -t my-agent .
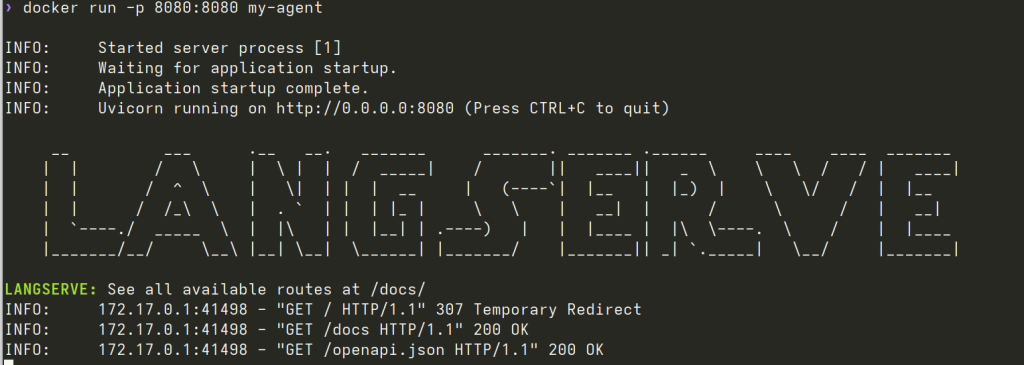
docker run -p 8080:8080 my-agent
This command maps port 8080 on our host to port 8080 in the container, where our Langserve app should be listening.
7. To the Cloud: Deploying on GCP Cloud Run
With a working Docker image in hand, we’re ready for the final step: deploying to GCP Cloud Run. This typically involves:
Pushing our Docker image to Google Artifact Registry.
docker tag my-agent us-central1-docker.pkg.dev/[MY-PROJECT-ID]/test/my-agent:latest docker push us-central1-docker.pkg.dev/[MY-PROJECT-ID]/test/my-agent:latestDeploying the image to Cloud Run.
gcloud run deploy my-agent \
 --image us-central1-docker.pkg.dev/[MY-PROJECT-ID]/test/my-agent \
 --platform managed \
 --region us-central1 \
 --allow-unauthenticated
And there you have it! Our AI agent is running on Cloud Run, ready to accept as many requests as you want without worrying about scaling.
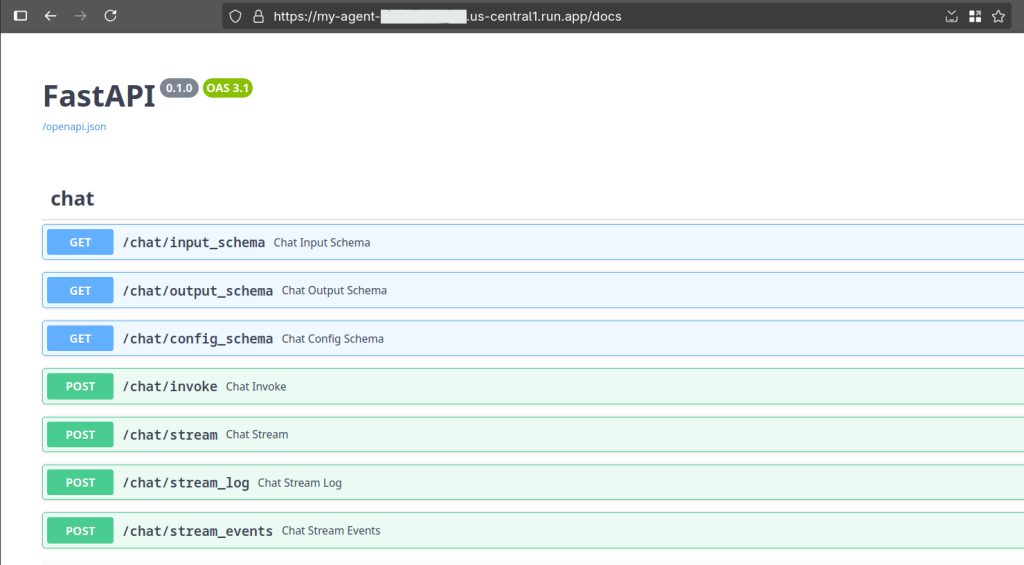
We can test it by using cURL from command line.
curl -X POST \
  -H "Content-Type: application/json" \
  -d '{"input": {"input": "What is the capital of France?"}}' \
https://my-agent-yourcloudruntag.us-central1.run.app/chat/invoke
Output
{
  "output":{
    "output":"The capital of France is **Paris**."
    },
  "metadata":{
      "run_id":"977be7d7-417d-be41-33a99a54c34e","feedback_tokens":[]
    }
}
OR we can write a simple python program that uses a RemoteRunnable client.
from langserve.client import RemoteRunnable


runnable = RemoteRunnable("https://my-agent-yourcloudruntag.us-central1.run.app/chat")

question = "What is the capital of Canada?"
result = runnable.invoke(input={"input": question})

print("----------------------------------------")
print(f"Question: {question}")
print(f"Answer: {result["output"]}")
Output
❯ python langchain_remote_client.py
----------------------------------------
Question: What is the capital of Canada?
Answer: The capital of Canada is **Ottawa**.
Conclusion
We’ve successfully navigated the path from developing a local LangGraph agent to deploying a robust, scalable AI service on GCP Cloud Run. By leveraging Langserve, we effectively bridged the gap, creating an accessible API endpoint. This setup not only brings your agentic AI to a wider audience but also provides a solid foundation for handling production-level traffic. The journey demonstrates how these powerful tools can be combined to build and scale sophisticated AI applications. Happy agenting!
Production deployment considerations
The deployment example provided is intentionally simplified for demonstration purposes and is not secure for production environments. For a production deployment, you should implement several additional security measures, including:
– Proper authentication and authorization (consider Firebase Auth, Google IAM, or other identity solutions)
– HTTPS enforcement with proper certificate management
– Environment-specific configuration management (don’t hardcode sensitive values)
– Rate limiting to prevent abuse
– Input sanitization beyond basic type validation
– Logging and monitoring for security events
